Place the lens for the conversation
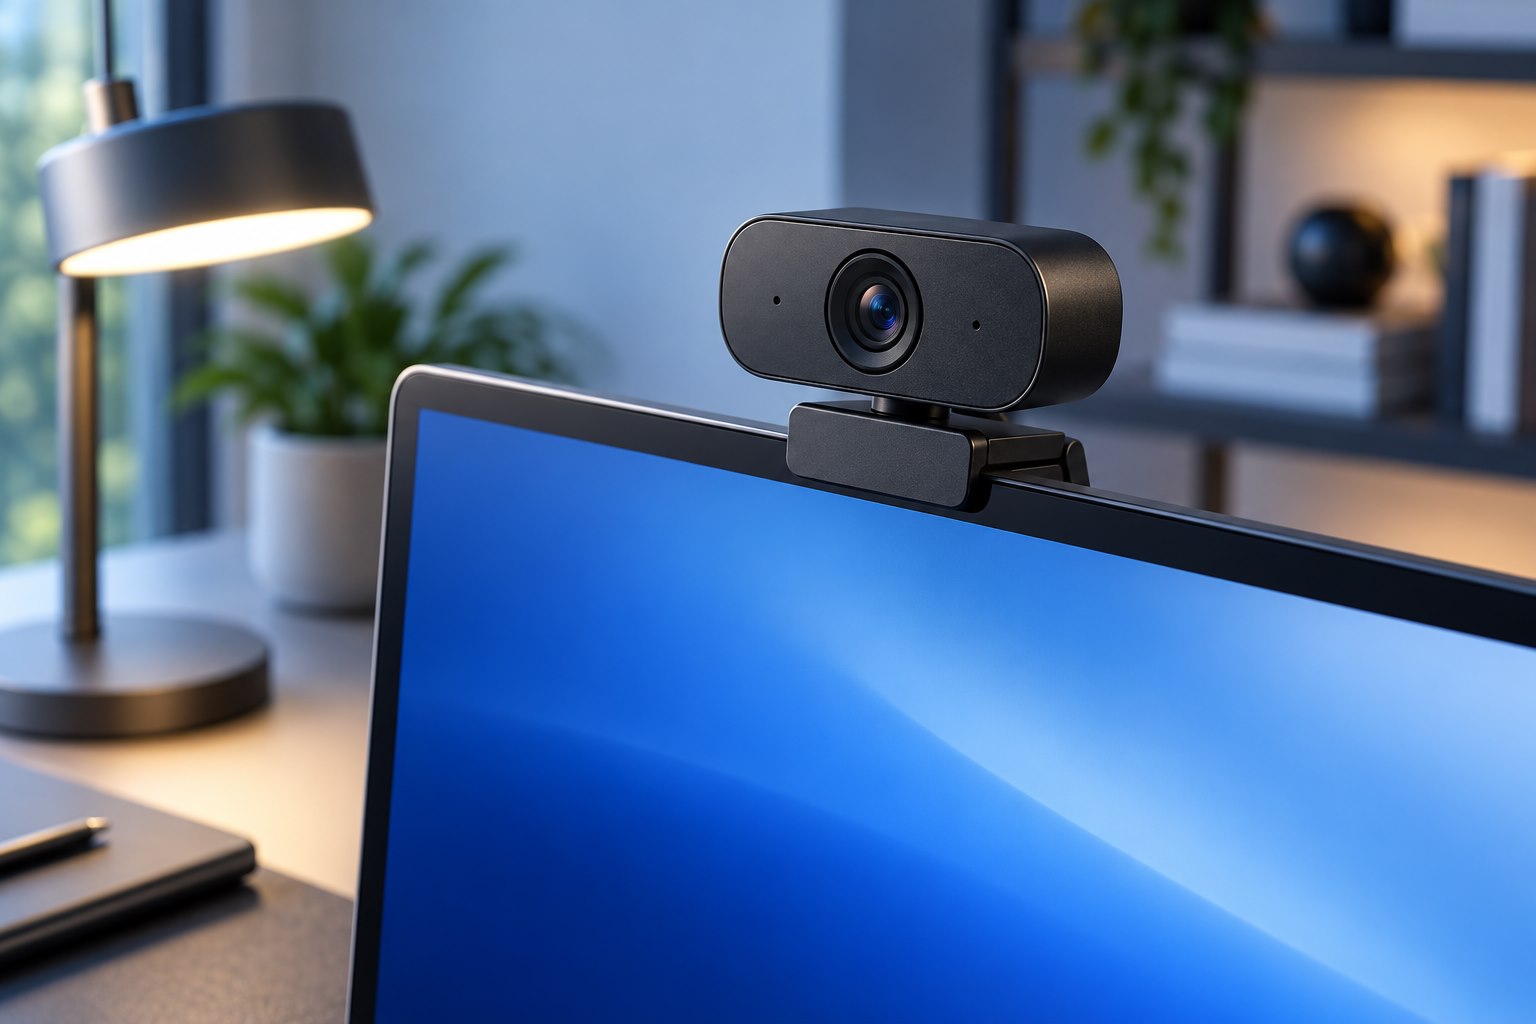
A laptop camera placed low on a desk often looks upward, while a webcam on a tall monitor can look down. Start near a natural eye-level view and adjust to suit the actual seated position. The best position is not always the center of the largest screen if the call window sits elsewhere. Place the call window near the camera when practical so glancing at participants does not look like turning far away. You do not need to stare continuously at the lens; the aim is a comfortable conversational angle that remains consistent while you work.
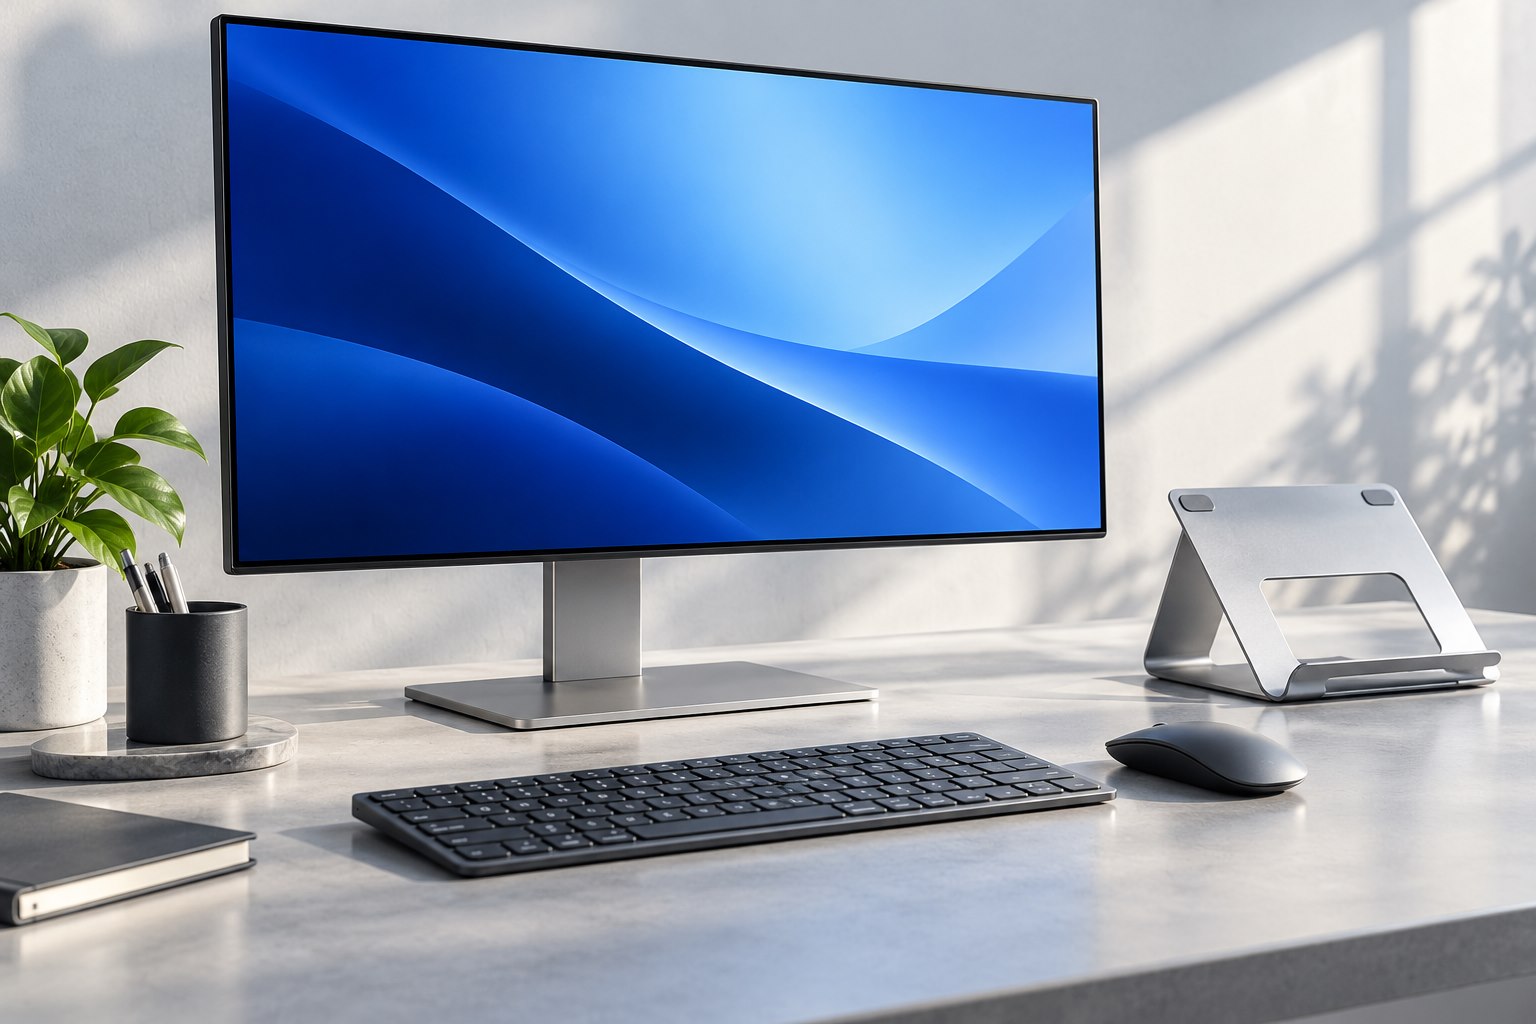
If the monitor is very wide, place the call window near the webcam rather than at the far side beside a document. This can improve the conversational direction without moving the camera hardware. During screen sharing, decide which window needs attention and arrange it deliberately. A camera mounted centrally does not help if the content you repeatedly consult sits far away from it.
Frame enough space for ordinary movement
Leave a little room above the head and enough width for natural gestures without exposing more of the room than necessary. A very tight crop can cut off the top of the head when you sit upright or make small movements look exaggerated. A very wide view can make you difficult to see on another person's laptop. Check the image while leaning forward to type and sitting back to listen. If two people share the frame, test both positions and make sure the focus and lighting remain acceptable for each. The preview should represent the real range of movement, not one carefully held pose.
Choose a mount that stays put
A monitor clip needs to fit the display safely and securely. Avoid pressing a clamp against the active screen area or relying on a loose perch that shifts whenever the desk moves. A small tripod or arm can offer more positioning freedom, but it also needs a stable base and cable slack. Check that the mount will not block ventilation or interfere with a monitor arm. If using a laptop stand, verify that changing the lid angle does not undo the camera framing. Keep the camera cable routed so reconnecting another device cannot pull the mount out of place.
A small stand on the desk can pick up visible vibration from typing or a moving monitor arm. Record a short clip while using the keyboard and compare it with the camera on a more stable support. The image may look steady in a still preview yet wobble during real work. Secure mounting should be judged with the activities that normally happen during calls.
Simplify the background and light
Look at the preview for bright windows, moving objects, and visual clutter that competes with the face. Moving the camera or chair slightly can be more effective than applying a heavy virtual background. If background blur is used, test it with hands, glasses, and the objects you may show on a call; edges can behave unpredictably. Keep the face lit clearly and avoid placing a strong light directly behind the head. A neutral background does not require an empty room. It requires a view that remains understandable and does not distract from the conversation or reveal items you did not intend to share.
Check the edges of the frame for information you would not want visible, such as a whiteboard, open document, or reflective surface showing another screen. This is a framing check you can complete once and revisit when the room changes. It is more dependable than assuming background blur will always conceal every object correctly.
Save a repeatable starting position
Note the mount height, camera angle, and any software crop after finding a useful frame. A small mark on the stand or a saved preset can make the setup quick to restore after cleaning or travel. Check the image again whenever you change chairs, desk height, or monitor position. Test in the actual meeting application because it may crop differently from the camera utility. Before an important call, confirm the selected camera and close the shutter only after the call ends if that is your routine. A reliable angle should take seconds to restore, leaving attention for the conversation rather than repeated last-minute adjustments.
Sources & further detail
These references support the technical context. Examples and selection advice are editorial explanations; verify the documentation for your exact equipment and software.
A detail we should revisit? Send the guide URL and the relevant documentation to SmithKent5791@outlook.com.
Read the editorial policy