Understand which kind of split you are buying
Some keyboards use a single body with an angled division between the hands. Others have two independent halves that can be placed apart. The second arrangement offers more positioning freedom but also introduces an interconnect, additional desk space, and sometimes a more unfamiliar key layout. Inspect the location of modifiers, arrows, and thumb keys. A split shape does not guarantee that every key you need remains easy to reach. If the goal is a different hand position, a familiar layout with adjustable separation may be a less disruptive starting point than simultaneously changing to a highly compact custom keymap.
Begin near the familiar position
Place the halves close together and roughly aligned with a conventional keyboard, then adjust separation and angle gradually. Keep the letter areas within easy reach and avoid forcing the hands outward merely because the halves can move farther. Some designs offer tenting that raises the inner edges. Follow the manufacturer's supported positions and use stable accessories rather than improvised wedges. Change one dimension at a time so you can identify what feels useful. This is a practical setup exercise, not a treatment for discomfort or a promise that a particular angle will suit everyone.
Keep the pointer and cables in the plan
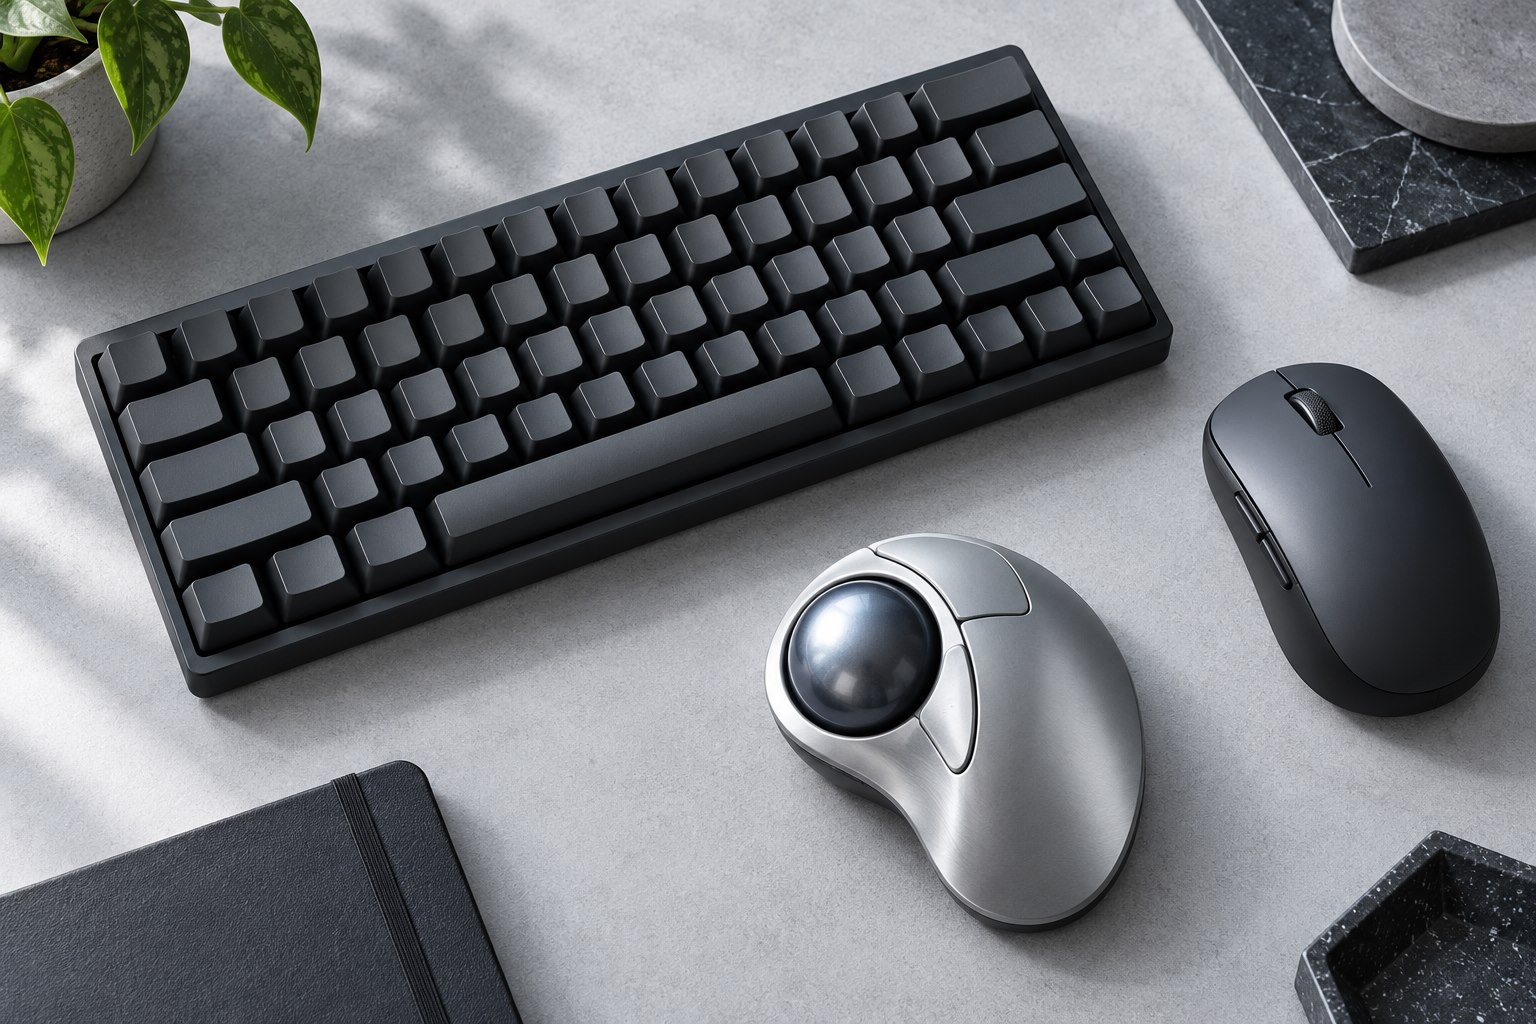
A split keyboard can create a central space for a pointing device, but that does not mean every mouse or trackball belongs there. Try the location during ordinary editing and see whether it reduces or increases awkward reaches. Route the interconnect so it does not cross the typing area or catch on a notebook. Check the required connection sequence in the manual, especially if the halves are linked by a connector that resembles an audio plug. Do not assume a visually similar cable is compatible. Keep the halves stable enough that repeated key presses do not gradually change their angle.
Learn the new map in small steps
If the board uses layers or thumb clusters, begin with the most frequent actions and retain a simple printed layout nearby. Avoid remapping dozens of commands during the first session. Practice ordinary writing, selection, undo, and navigation before adding specialized macros. Save the default configuration and a backup of each meaningful change. If the keyboard stores settings internally, confirm how to recover after an accidental remap. On a shared computer, keep another straightforward input method available while learning. The ability to undo a configuration mistake makes experimentation less frustrating and prevents a new keyboard from blocking essential work.
Practice a password-like string only in a harmless text editor, using invented characters. This checks access to punctuation and modifiers without risking repeated failed sign-ins. Once those keys are familiar, the new layout is less likely to become a surprise at a login prompt where remapping software may behave differently.
Evaluate over real tasks
A typing test alone does not reveal whether the split arrangement works for spreadsheets, shortcuts, or alternating between pointer and keyboard. Use the tasks that occupy your day and note specific obstacles. Some unfamiliarity can diminish with practice, while a key that is consistently difficult to reach may require a different layout or placement. Do not persist through discomfort simply to justify the purchase. Make a final arrangement that leaves space for documents and lets you move naturally. The useful outcome is an input device that supports your work with fewer awkward adjustments, not a desk configuration chosen because its geometry looks technically impressive.
Sources & further detail
These references support the technical context. Examples and selection advice are editorial explanations; verify the documentation for your exact equipment and software.
A detail we should revisit? Send the guide URL and the relevant documentation to SmithKent5791@outlook.com.
Read the editorial policy