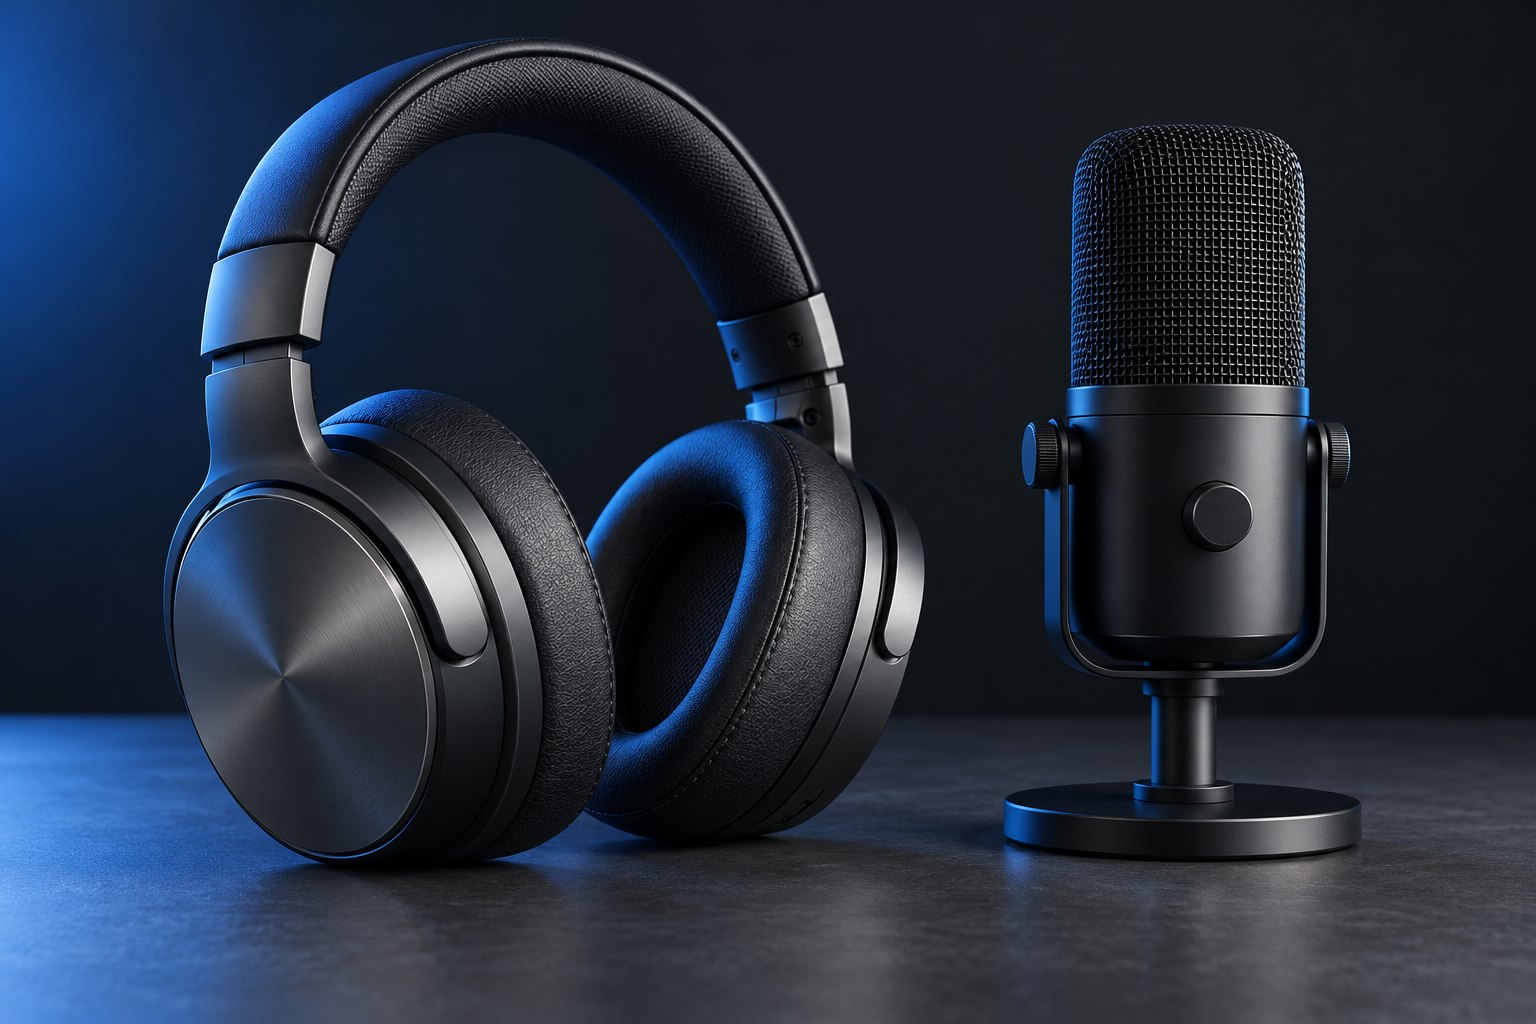
Gain is not the listening volume
Input gain controls how strongly the microphone signal enters the recording chain. Headphone volume controls how loudly you hear the result. Turning up the headphones does not repair a recording that is too quiet, and turning up input gain merely to hear yourself better can create clipping. Identify these controls before starting. Some USB microphones use one knob for several functions, so watch the indicator or consult the manual. If direct monitoring includes a microphone-to-playback blend, that is another separate control and can make the voice seem quiet even when the input level is healthy.
Set levels with the loudest real passage
Place the microphone first, then speak at the distance and intensity you expect to use. Include emphasis, laughter, or a louder line if those are part of the recording. Raise gain until the signal is useful while retaining visible headroom below clipping. There is no need to make every word approach the top of a digital meter. Follow the interface's meter guidance, because colored rings and software meters do not all use identical thresholds. A comfortable margin protects against ordinary variation and is usually more valuable than a waveform that fills the screen during a quiet rehearsal.
If two speakers share a setup, check each voice separately and then the louder moments of their conversation. An automatic setup based only on the quieter speaker may leave insufficient margin when the other person responds emphatically. Separate microphones and inputs allow different gain settings; one shared microphone requires a compromise in distance and level. Document that compromise rather than repeatedly changing gain during every sentence.
Distinguish clipping from other distortion
Clipping can occur when a stage is overloaded, but unpleasant speech can also come from plosive breath bursts, a damaged cable, aggressive processing, or an unsuitable input mode. If the meter reaches its clipping indication, reduce the relevant gain and record again. If distortion remains at modest levels, inspect the rest of the path. A line-level source connected to a microphone input may overload it even when the software fader is low. Lowering a recording application's channel fader often changes monitoring or mix level rather than the signal captured at the converter, so it may not prevent input clipping.
Use automatic features with a clear purpose
Automatic gain can help with changing speakers or unpredictable speaking levels, but it can also raise background noise during pauses or change the character of a recording. Some interfaces provide a setup routine that establishes gain, while others continuously adjust it. Those are different behaviors. Test the feature with a realistic passage containing silence and louder words. Listen for pumping, clipped beginnings, or distracting level shifts. For a controlled narration setup, a consistent microphone distance and manually chosen level may be easier to edit. For calls, the application's own processing may already adjust the input, so avoid unnecessary layers of competing control.
For example, continuous automatic gain may lift room noise while the speaker pauses to read. A one-time setup feature may leave gain fixed after measuring a short sample. Read which behavior the device provides and listen during silence as well as speech. The word automatic on a button does not tell you whether the system keeps adapting or merely helps establish the starting point.
Verify the file, then preserve the setup
Record a short sample and play it back at an ordinary listening level. Check both the quiet and loud sections. If the file is clean but quieter than a finished commercial program, that does not automatically indicate bad recording gain; published audio may have been compressed and adjusted afterward. Note the working microphone position and gain setting, but recheck when a different person uses the setup. A deeper or louder voice can change the margin. Save unprocessed recordings when practical so later adjustments remain possible. Clean headroom gives you options; a permanently distorted input limits what editing can recover.
Why a lower fader may not solve the overload
Imagine the interface input clips before the computer receives the signal. The recording software can turn that already distorted signal down, making its meter look comfortable while the damaged waveform remains. Reduce the interface preamp gain and repeat the recording instead. This distinction is especially useful when a voice still sounds harsh despite a low channel fader.
The same reasoning applies to an overloaded microphone or an earlier external preamp: a later volume control cannot undo an earlier overload. Trace the chain from the source toward the recorder and inspect each relevant meter. Do not add another preamp until you have established that clean gain is actually missing. A quieter headphone mix, a wrongly selected input mode, and insufficient microphone gain can look similar to a beginner but need different adjustments.
After resolving an overload, repeat the loud passage instead of testing only a soft sentence. The condition that caused the problem needs to be included in the verification. Keep the listening volume comfortable while doing this; there is no benefit to making the headphones loud simply because the recording test contains emphatic speech.
Sources & further detail
These references support the technical context. Examples and selection advice are editorial explanations; verify the documentation for your exact equipment and software.
A detail we should revisit? Send the guide URL and the relevant documentation to SmithKent5791@outlook.com.
Read the editorial policy