Begin with the two endpoints
A DisplayPort cable belongs to a connection between a particular graphics output and a particular display. Find the mode you intend to use and confirm both endpoints support it through those ports. A monitor can offer different capabilities over HDMI and DisplayPort, and the computer's output may have its own limit. Once those facts are established, the cable choice becomes a matter of carrying that supported signal reliably.
Do not assume that a cable labeled with a newer specification version creates new functions in older equipment. Cable packaging often compresses several technical details into one prominent number. Look instead for a documented performance class, exact model, and length. If the seller cannot provide those, a more clearly specified product is easier to evaluate and easier to replace with an equivalent later.
Use certification as a concrete check
VESA maintains a list of certified DisplayPort components, including cables. Its DP40 and DP80 certification programs identify tested capabilities for higher-rate links. Consult the current listing for the cable family you are considering, and match the model and length rather than stopping at a brand name. Certification is useful evidence about the cable; it is not a promise that every computer and monitor combination will support every mode.
For an ordinary office monitor, there may be no practical reason to buy the most demanding cable class. For a high-resolution, high-refresh screen, a documented suitable cable removes one uncertainty. This is a targeted purchase: the required mode should determine the performance requirement, while connector clearance and route determine the physical design. Neither gold-colored trim nor an unusually thick jacket substitutes for those facts.
Inspect the connector mechanics
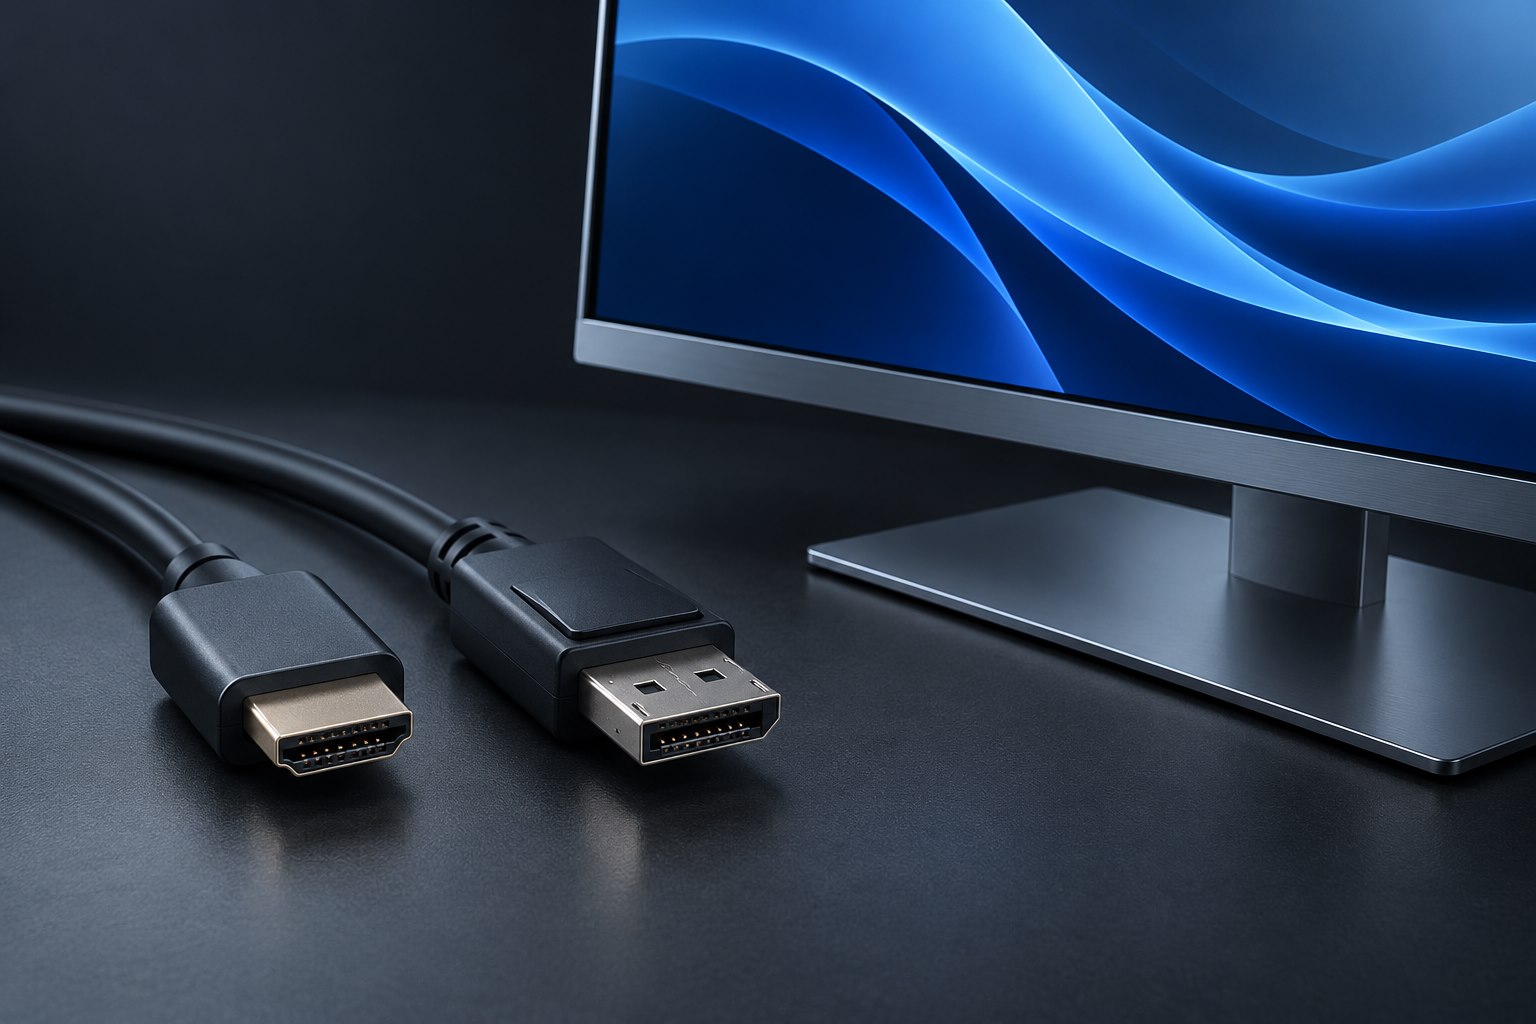
Some full-size DisplayPort plugs use a latch. If yours does, release it as instructed before unplugging; pulling harder can stress the socket. Check whether the release button remains reachable after the monitor is mounted. A cable that fits during assembly may be inconvenient behind a close wall mount. Connector housing dimensions can therefore matter as much as the length of the cable itself.
Plan a relaxed bend behind the monitor and secure the cable so movement of the arm does not pull directly on the plug. Use a soft reusable tie rather than a tight restraint that flattens the jacket. At a standing desk, test the full height range before finalizing the route. The cable should remain comfortably slack at both extremes without dangling into chair wheels or the desk mechanism.
Distinguish a mode limit from a faulty cable
If the screen works at a modest setting but blanks at the intended mode, check the documented limits of the whole path. Remove adapters and extensions where possible, then try a known-compatible cable. A lower mode working does not identify the cable as the only possible cause; graphics settings, port selection, and monitor configuration can also be responsible. Change one variable at a time and keep brief notes.
Test the new cable before committing to a hidden route. Confirm the selected refresh rate in the operating system and, where available, in the monitor's information menu. Run the tasks you bought the screen for, then check sleep and wake. Save the cable's model information with the display receipt. A documented, reproducible configuration is more valuable than a pile of spare cables whose capabilities have been forgotten.
Sources & further detail
These references support the technical context. Examples and selection advice are editorial explanations; verify the documentation for your exact equipment and software.
A detail we should revisit? Send the guide URL and the relevant documentation to SmithKent5791@outlook.com.
Read the editorial policy